Home Repair Basics: Fix It Yourself
Right, let’s get this straight. You’ve got a dripping tap that’s driving you bonkers, a dodgy light switch that flickers like a dodgy disco, or maybe a crack in the plaster that’s just getting bigger. The thought of calling a professional fills you with dread – not just for the wait, but for the eye-watering bill that’s sure to follow. But here’s the thing: you don’t need a degree in engineering or a toolkit the size of a small car to sort out most common household problems. Learning how to home repair isn’t only achievable, it’s also incredibly satisfying and, frankly, saves you a stack of cash.
This isn’t about becoming a DIY guru overnight. It’s about building confidence, basics, and knowing when a job is within your reach and when it’s best left to the pros. We’ll cover essential tools, common fixes you can tackle yourself, and importantly, how to stay safe while you’re at it. Think of this as your friendly, no-nonsense guide to taking control of those little home annoyances. We’re talking practical, real-world advice, not some glossy magazine fantasy. And yes, we’ll be keeping the UK and European context firmly in mind – because a faulty boiler in Manchester is a different beast to a loose tile in Seville, though the principles often overlap.
So, What Exactly is ‘Home Repair’ Anyway?
At its heart, home repair is simply the process of fixing something in your house that’s broken, damaged, or not working correctly. This could be anything from a minor cosmetic issue, like a scuff mark on the wall, to a more functional problem, such as a running toilet or a stiff window. The key difference between general home maintenance (like cleaning gutters) and home repair is that repair implies something has gone wrong and needs rectifying.
Learning how to home repair effectively means you can address issues promptly, preventing them from escalating into bigger, more expensive problems. It’s about being proactive rather than reactive. And honestly, there’s a real sense of accomplishment that comes with fixing something yourself. Remember that time I finally sorted out the persistently leaky shower head? Felt like I’d won the lottery, and all it took was a new washer and a bit of plumber’s tape from my local Screwfix.
Essential Tools for Your Home Repair Toolkit
You don’t need a professional workshop, but a few key tools will make a world of difference. Trying to fix something with a butter knife and sheer willpower is a recipe for disaster (and possibly a trip to A&E). Here are the absolute must-haves:
The Bare Essentials:
- Screwdriver Set: A good set with various sizes of Phillips (cross-head) and flat-head screwdrivers is non-negotiable. Look for ones with comfortable grips.
- Pliers: A pair of combination pliers for gripping and cutting, and perhaps some long-nose pliers for getting into tight spots.
- Adjustable Wrench (or two): Essential for nuts and bolts of different sizes, especially useful for plumbing. A 10-inch adjustable wrench is a good starting point.
- Hammer: A medium-sized claw hammer is versatile for driving nails and pulling them out.
- Spirit Level: To ensure things are perfectly straight – Key for hanging shelves or pictures.
- Tape Measure: Accurate measurements save a lot of headaches.
- Utility Knife/Box Cutter: For scoring, cutting materials, and opening packaging.
- Work Gloves: Protect your hands.
- Safety Glasses: Absolutely vital for protecting your eyes when drilling, hammering, or cutting.
Nice-to-Haves (as you build confidence):
- Drill/Driver: A cordless drill/driver is a major shift for drilling holes and driving screws. Look for a decent battery life. Brands like Bosch or Makita are reliable, though there are good budget options from DeWalt or even B&Q’s own brand.
- Pipe Wrench: In particular for gripping and turning pipes, especially useful for stubborn plumbing.
- Wire Strippers/Cutters: If you plan on doing any basic electrical work (safely, of course).
- Caulk Gun: For applying sealant around baths, sinks, and window frames.
Honestly, you can pick up most of these at any good hardware store, like Screwfix in the UK or Bauhaus in Germany. Start with the essentials. you can always add to your collection as needed.
[IMAGE alt=”Collection of essential DIY tools on a workbench” caption=”A starter toolkit with essential DIY tools.”]
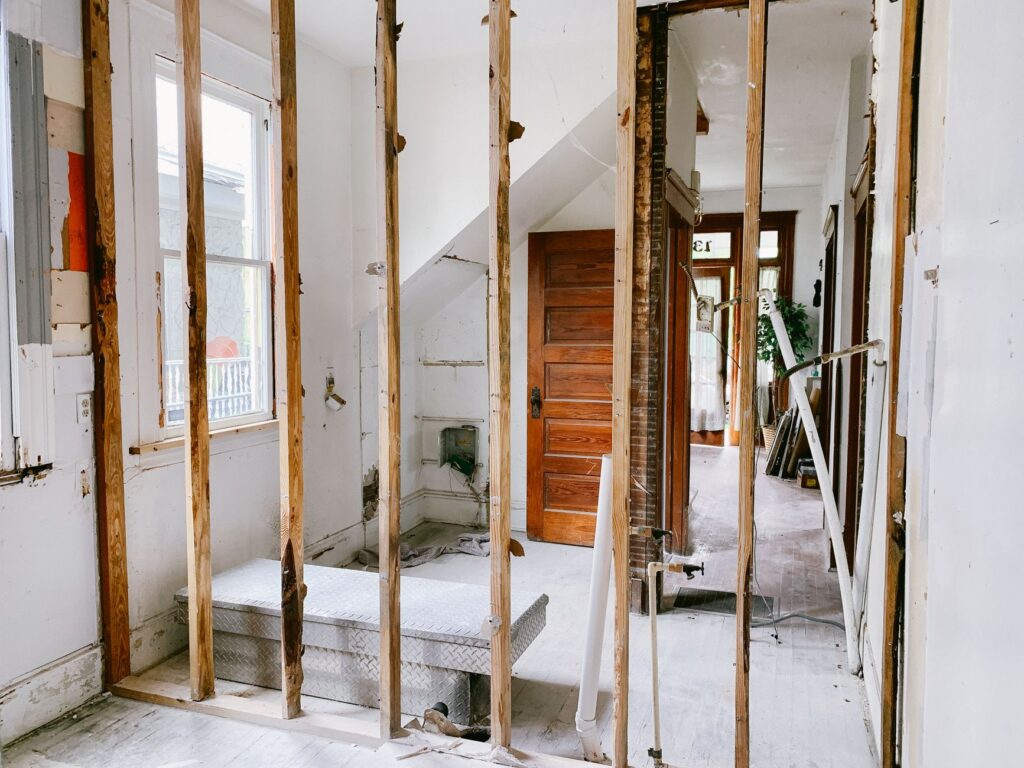
Tackling Common Household Repairs: A Practical Guide
Let’s dive into some specific jobs. Here are the kinds of things that crop up regularly in most homes, and with a bit of know-how, you can sort them out yourself.
1. Fixing a Leaky Tap (The Dreaded Drip)
That incessant drip… drip… drip is enough to drive anyone mad. Usually, it’s caused by a worn-out washer or a faulty valve seat inside the tap. The process is generally similar across most standard taps:
- Turn off the water supply! This is critical. Find the isolation valve under the sink or, if that’s not present or not working, turn off the main water supply to your house (often found under the sink or near your water meter).
- Drain the remaining water by turning the tap on.
- Remove the decorative cap on the tap handle (often a small coloured plastic disc). Use a small flat-head screwdriver or a thin knife to gently pry it off.
- Unscrew the handle screw underneath the cap.
- Remove the tap handle by pulling it upwards. You might need to wiggle it a bit.
- Unscrew the valve assembly (the part that the handle was attached to). Here’s where your adjustable wrench comes in handy.
- Replace the washer (a small rubber ring) or the entire valve assembly if it looks corroded or damaged. Take the old part to the hardware store to ensure you get an exact match.
- Reassemble everything in reverse order.
- Turn the water supply back on slowly and check for leaks.
Expert Tip: A smear of plumber’s grease on the new washer and threads can help create a better seal and make future disassembly easier. For ceramic disc taps, you’ll likely be replacing the entire cartridge — which is a slightly different process but still very DIY-able.
2. Dealing with a Running Toilet
A toilet that keeps running after you flush wastes a surprising amount of water. The culprit is often the flush mechanism inside the cistern.
- Remove the cistern lid and place it somewhere safe.
- Check the float ball/cup: If it’s set too high, it can cause water to constantly flow into the overflow pipe. Adjust the float arm or clip downwards.
- Examine the flapper/flush valve seal: This rubber seal at the bottom of the cistern is what stops water from flowing into the bowl. If it’s old, cracked, or warped, it won’t seal properly. You can often buy a replacement seal or a whole new flush valve assembly and fit it.
- Check the overflow pipe: If the water level is above the top of the overflow pipe, the float mechanism isn’t shutting off correctly.
Most parts for cisterns are universal or come in standard sizes. Again, taking the old part with you to the shop is the best way to ensure compatibility. Brands like Thomas &. Betts (though they’re more industrial) or even generic parts from plumbing suppliers will work.
3. Basic Electrical Safety and Simple Fixes
Now, electricity is where you need to be extra cautious. If you’re not comfortable or don’t understand it, don’t proceed. Always switch off the relevant circuit breaker or fuse at your consumer unit (fuse box) before attempting any electrical work. If in doubt, call a qualified electrician.
Common fixes you might be able to handle (with the power OFF):
- Loose light switch or socket faceplate: These are usually held on by a couple of screws. Once removed, check that the wires are still securely connected to the terminals. Ensure the correct wires (live, neutral, earth) are in the right places. If a wire feels loose, tighten the screw.
- Replacing a fuse: This is straightforward. Identify the blown fuse (often indicated by a melted wire inside) and replace it with one of the exact same rating (amperage). Your consumer unit should have spares or labels indicating the correct types.
Important Note: Anything involving the wiring inside a switch or socket, replacing the entire unit, or dealing with anything beyond a simple loose wire, should be handled by a registered electrician. In the UK, look for an NICEIC-registered professional. For other European countries, similar national registration schemes exist.
[IMAGE alt=”Hand turning off a circuit breaker” caption=”Always switch off the power at the consumer unit before any electrical work.”]
4. Filling Small Cracks and Holes in Walls
Here are usually straightforward cosmetic repairs. Whether it’s a nail hole from a picture frame or a small hairline crack in the plaster:
- Prepare the area: Clean away any loose dust or debris. For cracks, you might need to gently widen them slightly with the utility knife to create a better key for the filler.
- Apply filler: Use a ready-mixed filler or mix your own filler powder with water according to the manufacturer’s instructions. Use a small filling knife or putty knife to press the filler firmly into the hole or crack. Smooth it off as neatly as possible, ensuring it’s flush with the wall surface.
- Let it dry: Drying times vary, so check the product packaging.
- Sand smooth: Once dry, use fine-grit sandpaper (around 120-180 grit) to gently sand the filled area until it’s perfectly smooth and level with the surrounding wall.
- Prime and paint: Apply a coat of primer, let it dry, and then paint to match the rest of the wall.
Ready-mixed fillers from brands like Polycell or Toupret are readily available and easy to use. Don’t try to fill a massive hole in one go. it’s better to apply filler in layers, allowing each to dry.
When to Call in the Professionals
Knowing your limits is just as important as knowing your tools. Some jobs are simply too complex, too dangerous, or require specialist knowledge and equipment. Here’s when you should definitely put down the tools and reach for the phone:
- Minor plumbing leaks (washers, seals)
- Fixing small cracks/holes in plaster
- Painting and decorating
- Replacing a light bulb or fuse
- Hanging shelves (if you can find studs/use appropriate fixings)
- Basic furniture assembly
- Any major electrical work (rewiring, new circuits)
- Gas boiler servicing or repair
- Structural issues (large cracks in walls, foundation problems)
- Major roof repairs
- Complex plumbing (burst pipes, main water line issues)
- Anything you’re not 100% confident doing safely
The cost of a professional might seem high, but it’s often worth it for peace of mind and to avoid potential damage or injury. Think about the potential cost of a DIY mistake – a flooded bathroom, a fire hazard, or a structural problem can cost exponentially more than a professional’s fee.
Learning Resources and Staying Safe
The internet is awash with information on how to home repair. YouTube is an absolute goldmine for visual learners. Channels like This Old House (US-based but principles apply) or even local DIY store channels often have step-by-step guides for specific tasks. Local council websites or government consumer advice pages sometimes offer basic home safety information, too.
Safety First, Always:
- Electricity: As mentioned, if you’re not sure, don’t do it.
- Water: Always turn off the supply before working on plumbing. Be prepared for residual water.
- Gas: Never attempt gas repairs yourself. Here’s extremely dangerous. Only qualified Gas Safe registered engineers (in the UK) should work on gas appliances.
- Working at Height: Use stable ladders or scaffolding. Ensure someone is there to steady it if necessary.
- Tools: Use the right tool for the job and keep them in good condition.
- Ventilation: Ensure good ventilation when using paints, glues, or solvents.
Honestly, the best way to learn is often by doing, but starting small and safe is key. Watching a few videos on a specific repair before you even pick up a tool can make a huge difference.
Frequently Asked Questions
What’s the most common home repair people do themselves?
The most common DIY home repair often involves fixing minor plumbing issues, such as replacing a worn-out tap washer to stop a drip or clearing a blocked sink. These are usually low-risk, require minimal tools, and can save immediate hassle and expense.
How can I learn basic home repair skills?
You can learn basic home repair skills through online tutorials (like YouTube videos), DIY books, or workshops offered by hardware stores or community colleges. Practical experience, starting with simple tasks, is also a highly effective way to build your confidence and abilities.
Is it cheaper to do home repairs yourself?
Yes, in most cases, it’s cheaper to do home repairs yourself. You save on labour costs — which often make up the largest portion of a professional’s bill. However, you must factor in the cost of tools and materials, and the potential cost of mistakes.
What safety precautions should I take when learning how to home repair?
Always prioritise safety by turning off electricity or water supplies before starting. Wear appropriate personal protective equipment like safety glasses and gloves. Use the correct tools for the job, ensure good ventilation, and never attempt repairs you’re not confident with – call a professional instead.
When is it time to stop DIY and call a professional for home repairs?
It’s time to call a professional when a repair involves complex systems like gas or major electrical work, structural issues, or if you lack the necessary tools, skills, or confidence. Attempting jobs beyond your capability can lead to costly damage, injury, or safety hazards.
Bottom Line: Take the Plunge
Learning how to home repair is a journey, not a destination. Start small, gather a few essential tools, and tackle those minor irritations that have been plaguing your home. You’ll be surprised at what you can achieve, and the confidence you gain will empower you to take on more complex tasks over time. Remember safety first, always know your limits, and don’t be afraid to consult the wealth of information available. That dripping tap won’t fix itself, but with a little effort, you can stop it – and save yourself a small fortune in the process.